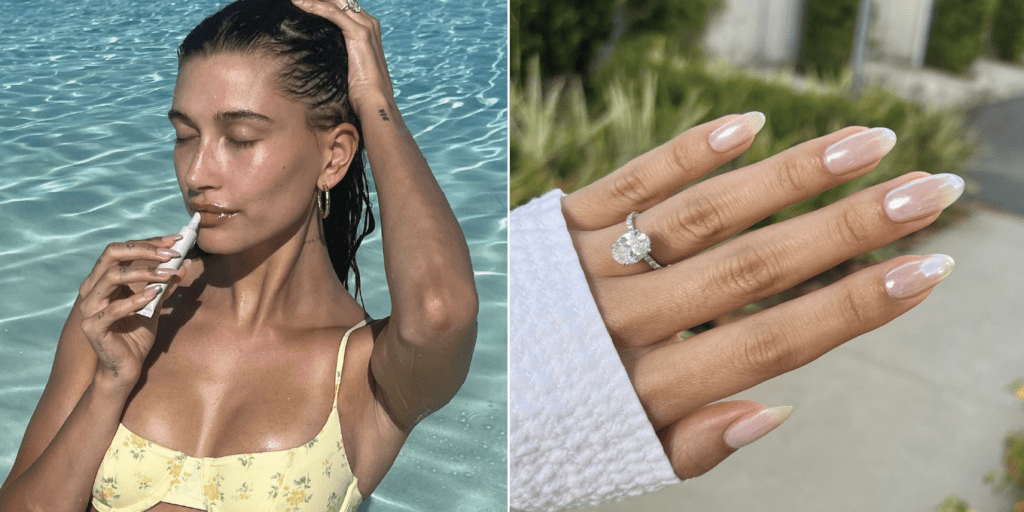
Hailey Bieber Best Nail Art and Designs

Bieber and her nail artist, Zola Ganzorigt broke down the nail concoction on social media. She mentioned a thin layer of OPI’s Funny Bunny Nail Lacquer and also the Chrome Effects powder in Tin Man Can as the two main products used to achieve the iridescent nail look. But as we know in beauty, nothing is ever one shade (or in this case one technique) fits all. For our melanated beauty lovers. We suggest opting for a light-colored acrylic powder base or layering on your choice of polish to really make your glazed nails pop.
- Easter Nail Color Ideas That Are Trending This Season
- Strawberry Nail Art Design & Ideas Pictures 2023
- Latest Nail Art Designs & Ideas Gallery For 2023
Hailey Bieber Nails – How To Create
Everyone’s seen the trending Hailey Bieber’s “Glazed Donut” gel nails. It seems like everyone is obsessed with this iridescent, semi-opaque gel manicure and so are we. This gel manicure trend is easy to recreate with the right Gelous Gel Nail Polish. Do U Also Wanna Try This amazing nail art? Will I am gonna tell you how to design this beautiful manicure? So keep reading to find out.

Gel Nail Polish colors needed-
To start with let’s break down the products you’ll need and why.
Pink Rubber Base Coat: The Pink Rubber Base Coat adds the first layer of pink that is present in the manicure. Rubber Base Coat is also amazing for smoothing, strengthening, and also thickening flaky, brittle, thin, or splitting nails. It has enhanced rubber-like qualities that allow your nails to flex without breaking.
Pink Builder Gel: The Pink Builder Gel not only adds strength. But also reinforces the pink undertones in this gel manicure. Builder Gel is harder and thicker than our other Gel Nail Polishes. So will decrease nail flexibility and also bending, helping your Gel Nail Polish last longer.
Swan Lake Gel Nail Polish: This milky-white, semi-opaque shade creates a see-through, white effect on the nails.
Snow Place Like Home Gel Nail Polish: This semi-opaque shimmer with a white base gives more coverage while adding that all-important white chrome effect.
Top Coat: Top Coat finishes off your gel manicure and also adds that extra shine to top off your flawless Hailey Bieber manicure.
Prepping your nails-
Now you know what products you’ll need to create this gel manicure. Let’s talk preparation of the nails. If you’re wanting it to look exactly like Hailey’s. You’ll need to shape your nails into an almond shape. If they are long enough. To do this use a nail clipper to cut the sides of your nails, then file each side towards the middle using the fine side of the Gelous Nail File. Make sure you’re not filing too much on one side and that the sides are even. Next, softly buff the nail bed with the fine side Nail File to create an even, matte surface for the Pink Rubber Base Coat layer to adhere to.
Make sure to take care and buff as close to the cuticles and sides as possible to prevent any premature lifting from happening. Wipe your nails down with a Lint Free Wipe soaked in Nail Polish Remover, then brush on our Nail Primer. This will dehydrate the nail bed and clear off any natural oils and moisture from hands and cuticles create. This is a vital step in all gel manicures, as any dust or oils left behind on the nails can negatively impact the way your gel manicure applies and lasts.
Applying your Gel Nail Polish-
Now let’s get down to the exciting part, the Gel Nail Polish application! When applying all your coats, always cap the free edge of the nail and leave a small gap between the Gel Nail Polish and your cuticle. Aim to avoid getting any Gel Nail Polish on your skin or cuticle, however, if you do, remove it with an Orangewood Cuticle Stick before curing. Your Base Coat and Colour Coat should remain a little sticky after curing so that when you apply the following layer it sticks to the layer below.
Start out by applying a thin layer of Pink Rubber Base Coat, curing for 60 seconds under the UV/LED Gel Nail Lamp.
Then add 1-2 coats of Pink Builder Gel on top to get that natural pink-tinged base and cure after each coat. Thin coats of Builder Gel are vital, as it is a thick, hard gel that if it is applied poorly can look bulky and flood your nail bed.
Now it’s time for Swan Lake Gel Nail Polish, which creates that perfect semi-opaque white. Apply a 1-2 thin coats, then cure for 60 seconds after each coat.
Following this, apply a thin coat of Snow Place Like Home Gel Nail Polish to give your nails a pearlescent white sheen that makes the nails look ethereal and glazed-donut-like. Cure each coat of this for 60 seconds.
The last step is to apply our Top Coat and cure for 60 seconds to finish your gel manicure. Use the standard Top Coat or Clear Rubber Top Coat – either will work just great!
https://www.tiktok.com/@haileybieber/video/7138926861761170734?referer_url=www.ellecanada.com%2Fbeauty%2Fmakeup-and-nails%2Fhailey-bieber-nails-darker-skin-tone&refer=embed&embed_source=71112495%2C121331973%2C120811592%2C120810756%3Bnull%3Bembed_blank&referer_video_id=7138926861761170734
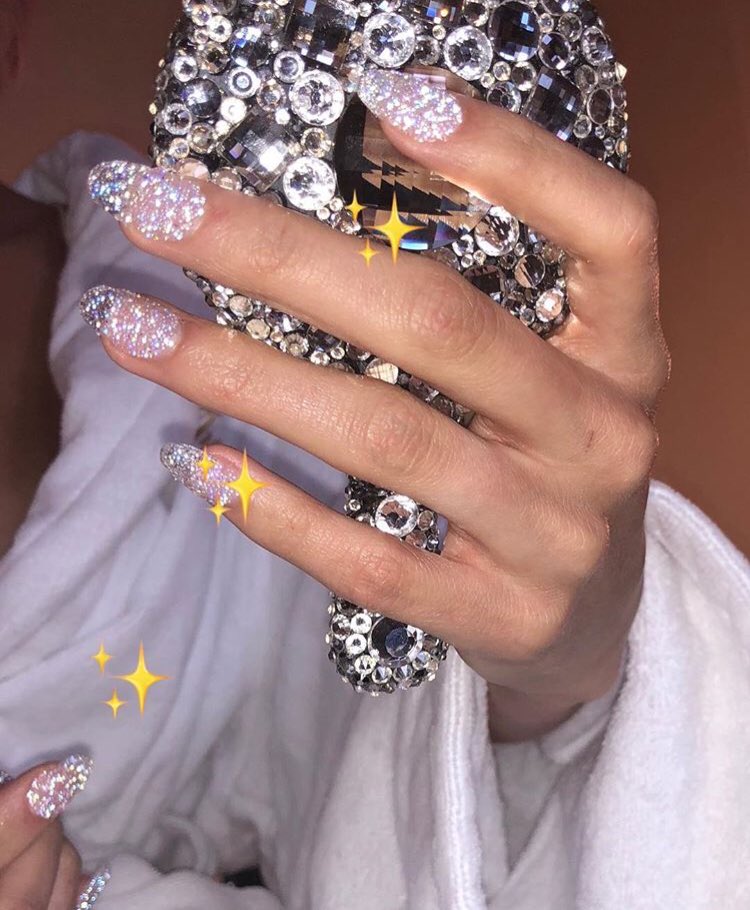
Hailey Bieber nails-
These two designs were very trending during that time. So I am Just Showing you. Hope You like this too.


I hope you love this. If you find this article helpful please don’t forget to share my post and also follow me on Instagram for new updates.
Thank you for reading my article and have a great Day/Night!
